
Did you overbuy a bunch of produce in a panic fit with healthy eating intentions, only to realize there's no way you and your bunkered down partner and pets can get through it? You're not alone. But don't force feed yourself all that kale: Here's how to prep it and other fast-spoiling goods so they last just as long as that box of high-protein quinoa spaghetti you reluctantly had to buy because it was the only thing left on the shelf.
Greens And Vegetables
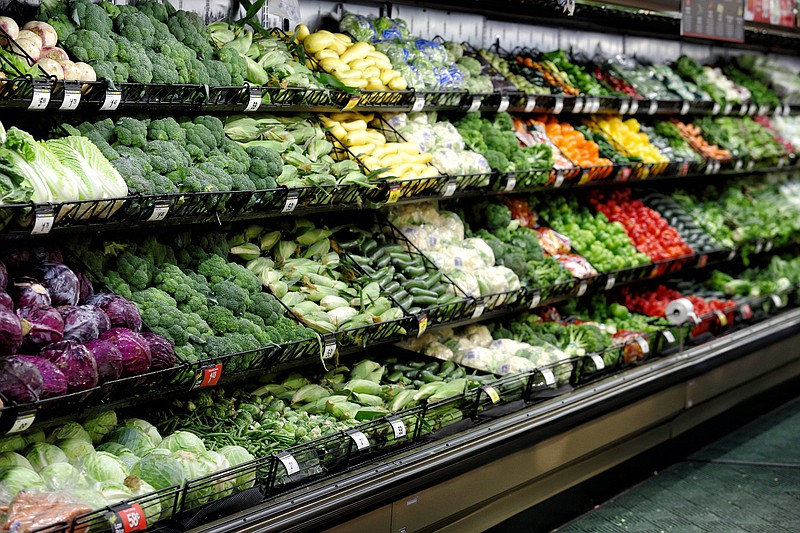
There's no reason to let your supply of vegetables run low just because the frozen varieties are gone or picked over. Buy fresh vegetables and freeze them yourself. All contenders are welcome, especially hearty greens like kale, spinach, swiss chard and mustard/collard/turnip greens, but also cruciferous veggies like cauliflower, broccoli, Brussels sprouts and cabbage, as well as carrots, asparagus, green beans, peas, etc.
A childhood of growing up on a farm left me with this, the most valuable skill for times like we're in now. We called it "putting up" vegetables for the winter, and it basically entails blanching vegetables, then packing them in containers to go in the freezer. We'd do this with our two-week harvest of cream peas and would have gallon bags upon gallon bags to tide us over for a whole year. Let me break it down for you:
First, bring a large pot of salted water to a boil. While that's happening, set up a large bowl of ice water next to it. Next, chop your vegetables into bite-size pieces (this is not necessary at this stage but makes it easier to use them once you're ready later) and toss them in the water to cook until they're al dente. This step is called blanching, and you do it to stop the enzymes in the vegetables that would continue to spoil them, even in extreme cold conditions like the freezer (it helps that it also sets the color of vegetables so they're vibrant and more pleasing to eat). All vegetables have different cooking times, but similar to the way you test pasta, you want to take a piece of veg out every couple of minutes, depending on what it is, of course, and take a bite: It should be firm but yielding, like biting into a fresh cucumber.
Once the vegetables are ready, drain them (pour the whole lot in a colander if you're doing just one batch or use a slotted spoon to lift the veg out so you can reuse the water) and plunge them into the ice water to stop them from cooking. Give them a quick stir and let them hang out for about 20 to 30 seconds (no longer or they'll get waterlogged and soggy), then drain them.
Dry the vegetables well on paper towels (or let them air dry on a kitchen towel if your paper supply is low), then portion them into usable amounts in resealable plastic bags or airtight containers. Place them in the freezer and, voil, you've made your own frozen vegetables to use whenever you need them, whether that's two days or two months from now.
Bread
If you're like me and never eat a slice of bread that's not toasted, this should be an easy one. Any loaf of bread, whether it's the sliced kind from the grocery or an artisanal loaf, freezes well. The key is to slice it first, then place small strips of parchment or wax paper between the slices, so you can reassemble the loaf and the slices won't stick back together as they freeze. Once reassembled, wrap the loaf tightly in plastic wrap, then once again in foil; it will last this way in your freezer for at least a month.
When you're ready to revive it, break off a slice and warm it directly in your standing toaster, toaster oven, conventional oven or, if you're really lazy, directly over a gas burner set to the lowest setting. One caveat I've found in my years as a bread freezer: Revived toast is as good as new only while it's hot, so get your nut butter and jam or avocado on it quickly and eat it within a couple minutes, before it has a chance to cool to a chewy cardboard texture.
Fruit
While most fruit, like all the in-season citrus we have now, will keep at room temperature or in the refrigerator for at least a couple of weeks, it doesn't hurt to get into the habit of freezing fruit too, especially berries, bananas and other soft fruit that will spoil faster. Those who make fruit smoothies on the regular will already know this trick.
First, line a baking sheet with parchment paper, then spread your fruit on it. If you've got blueberries and raspberries, leave them whole, but hull and quarter any strawberries. Peel and slice bananas into bite-size pieces. Do the same with mango, papaya, pineapple or any other tropical fruit you like. Once laid out, place the sheet in the freezer and let the fruit freeze completely. Then, pop the fruit off the parchment paper and divide the fruit among resealable plastic bags or airtight plastic containers, either by type of fruit or a mix of all. They'll keep this way for at least a month or more.
When you're ready to thaw, it's best to do it overnight in the fridge so the fruit maintains some structural integrity. You're not really going to want to eat a thawed, frozen berry or piece of pineapple the same way you would if it was fresh, so do these things with them instead: fold them into a loaf cake or muffin batter, blend them into a smoothie or with your yogurt and top with granola, bake them into a cobbler or pie, or cook them down with some sugar and a splash of lemon juice for a quick jam that you can spoon over toast, ice cream or into a shaker to mix with booze for a fruity cocktail.
Herbs And Aromatics
Herbs have the shortest life span of most produce, but that doesn't mean you should overlook them when stocking up on essentials. After all, how good will that boiled pasta really taste with no seasonings on it?
Similar to the greens and vegetables above, you can blanch and freeze herbs (parsley and cilantro work particularly well in this case, but only need to be blanched for quite literally three seconds), but the easiest and best way is to chop them up, distribute them among the divots of an ice cube tray, and cover them with a little olive oil. The oil protects their flavor and color from oxidation and helps preserve them for months. That way, when your pasta or tomato sauce is ready, you can pop out a frozen cube of herbs and oil and stir it in, letting the heat naturally thaw and revive the herbs so they flavor whatever you're cooking.
But don't stop there; apply this principle to onions, scallions, shallots and garlic. But here you get two options: One is to mimic the herb prep exactly by chopping the aromatics, then portioning in ice cube trays and covering with oil before going in the freezer. This is especially helpful if you're cooking for one or two and won't need that much chopped onion anyway. Toss a frozen cube or two of chopped onion or garlic into your heating pot and they'll be sizzling away in no time to flavor the base of your tomato sauce or soup.
The second method is arguably better. First, cook a big batch of sliced onions or scallions or garlic in oil until caramelized and tender, then let it cool completely. Spoon the mixture into ice cube trays or small plastic containers and top with more oil, if needed. This way, when you want that slow-cooked flavor in an instant, you can stir a cube of caramelized onions into your pasta, caramelized scallions into chicken soup or caramelized garlic into mashed potatoes.